Tickets
What is a Ticket?
A Ticket represents a request, issue, or requirement registered within the Helpdesk module for tracking and resolution.Tickets allow organizing, assigning, and managing problems, inquiries, or incidents reported by customers or users until their final resolution.
How are Tickets Created?
Tickets can be created in different ways within the Helpdesk module.- Manual creation: Created directly by a user from the Tickets section.
- Customer requests: Created from issues or requirements reported by customers.
- Internal requests: Created by internal users to manage support needs or follow-up actions.
- Configured channels: Created automatically through channels such as email, forms, or other company-defined sources.
Ticket Management
Accessing the Tickets List
To access the Tickets list, go to:Helpdesk → Tickets
Once inside, the main list of registered Tickets will be displayed.
From this screen, Tickets can be consulted, organized, and managed according to their status, priority, team, or assignment.
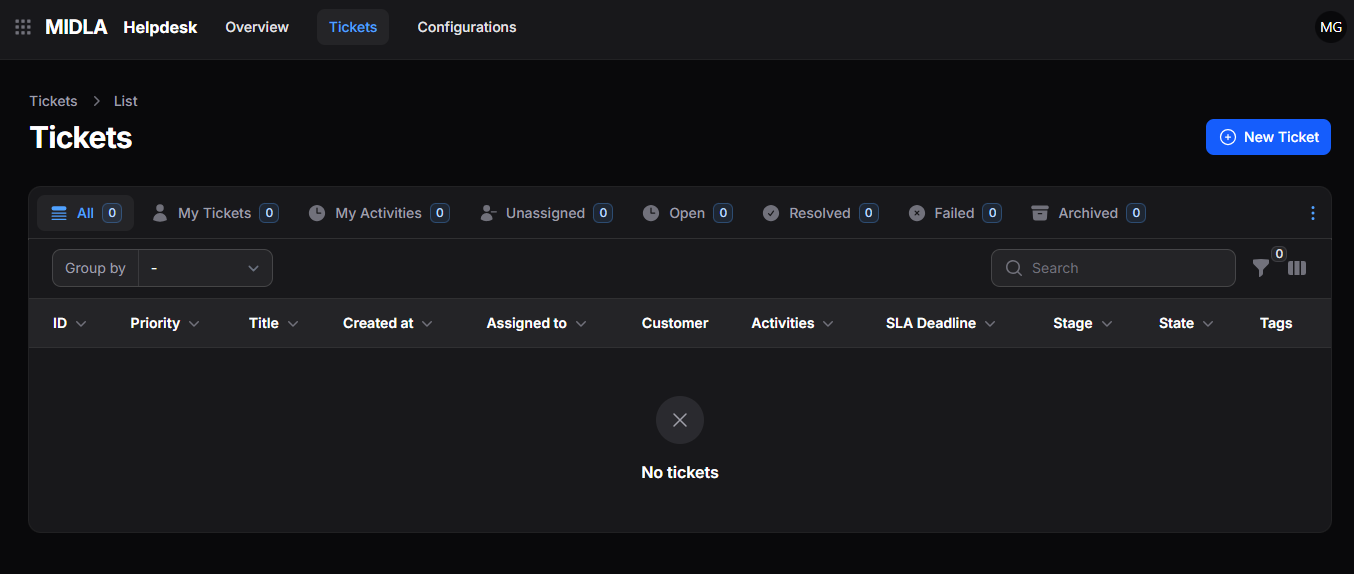
Figure 1. Main Tickets list
List Display
Tickets can be displayed in Kanban or Table format, depending on the user's needs.The view can be changed using the selector located in the upper-right corner of the list.
Kanban View
The Kanban view displays Tickets as cards organized by support stages or statuses.
This view allows users to follow the progress of each Ticket visually and move records through the workflow according to their current stage.
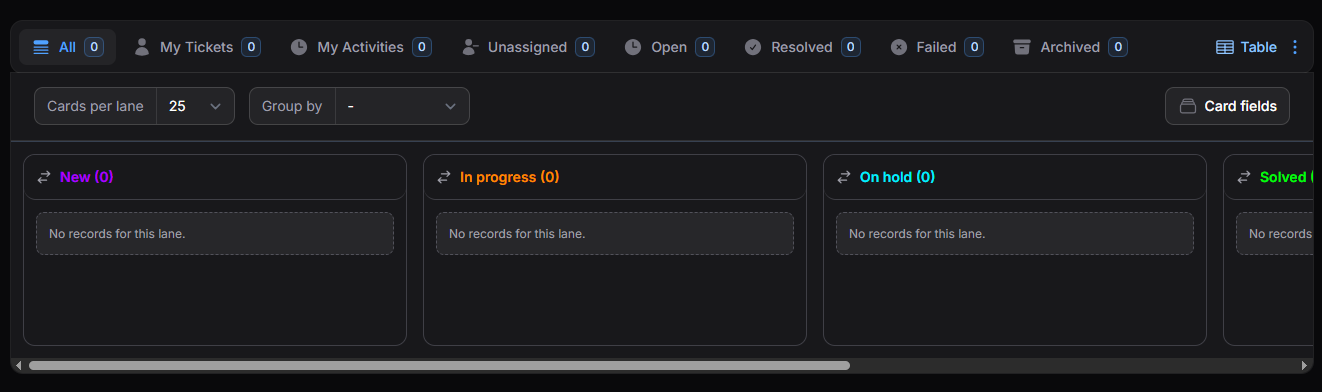
Figure 2. Kanban view
The columns in the Kanban view correspond to the configured Ticket stages. These stages can be managed from Helpdesk → Configurations → Ticket Stages.
Available Tools
- Cards per Column: Defines how many cards are visible in each stage column.
- Group By: Organizes Tickets according to different criteria.
- Card Fields: Configures which information is displayed inside each Ticket card.
Table View
The Table view displays Tickets in a tabular format, showing detailed information for each record.
This view is useful for reviewing multiple Tickets at once and comparing information across columns.
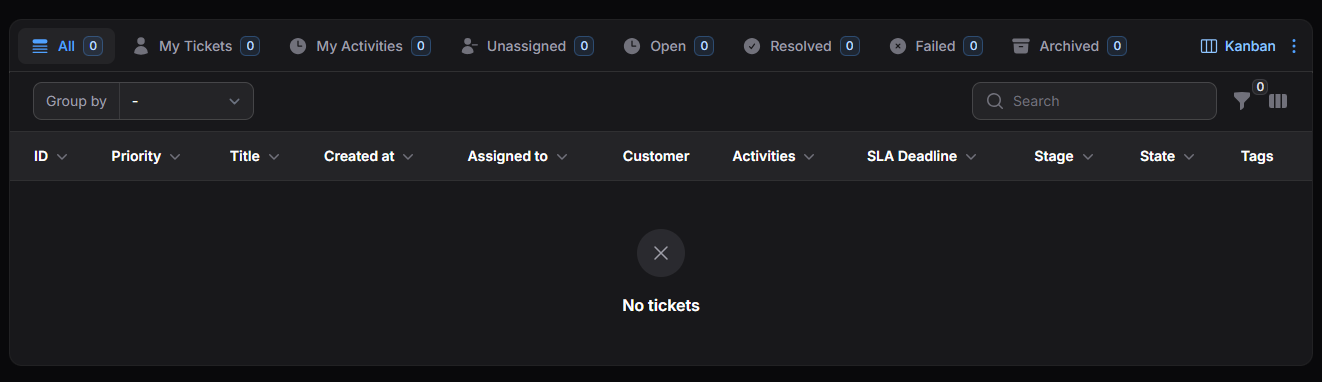
Figure 3. Table view
Available Tools
- Group By: Groups Tickets according to different criteria.
- Search: Allows locating specific Tickets using keywords.
- Filters: Applies filters to refine the displayed records.
- Column Manager: Configures the visible columns within the list.
- Sort: Allows ordering records according to different fields.
List Views
The Tickets list includes different views to organize and consult records according to their status, assignment, or follow-up needs.Available Views
- All: Displays all registered Tickets.
- My Tickets: Displays only Tickets assigned to the current user.
- My Activities: Displays Tickets with related or pending activities.
- Unassigned: Displays Tickets without an assigned responsible.
- Open: Displays Tickets that are still active or pending resolution.
- Resolved: Displays Tickets that have been successfully resolved.
- Failed: Displays Tickets marked as failed.
- Archived: Displays archived Tickets removed from the main list.
Views can be customized from the Action Group (⋮) menu. The Reset option restores the default view configuration.
Create a Ticket
Manual Creation
Tickets can be created manually from the Tickets section.To manually create a Ticket:
- Go to Helpdesk → Tickets.
- Click New Ticket.
- Complete the required information in the creation form.
- Click Create to save the record.
Creation Form
When selecting New Ticket, the creation form will be displayed.General Information
The General Information section contains the main Ticket details, including contact information, assignment, priority, and classification.
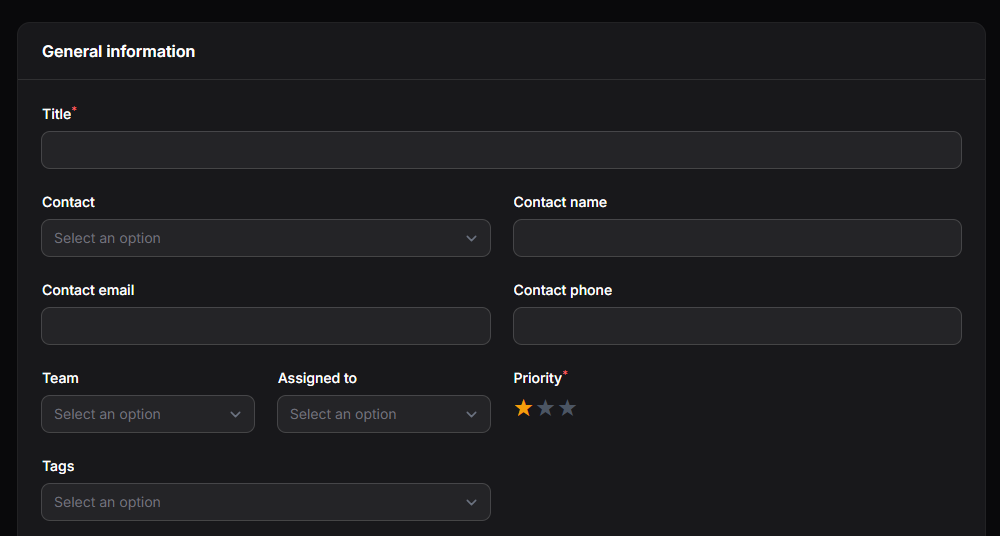
Figure 4. Ticket creation form
Available Fields
- Title: Allows defining the title or subject of the Ticket.
- Contact: Allows associating an existing contact with the Ticket.
- Contact Name: Allows entering the contact name related to the request.
- Contact Email: Allows entering the email address of the contact.
- Contact Phone: Allows entering the phone number of the contact.
- Team: Allows assigning the Ticket to a Helpdesk team.
- Assigned To: Allows assigning the responsible user.
- Priority: Allows defining the urgency or importance of the Ticket.
- Tags: Allows classifying the Ticket using tags.
Additional Information
The Additional Information section allows associating complementary data with the Ticket.
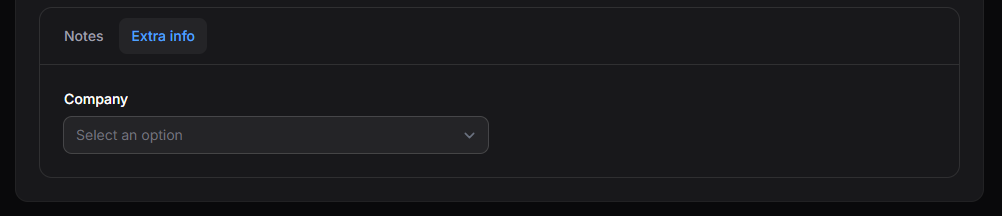
Figure 5. Additional information section
Available Fields
- Company: Allows associating the Ticket with a specific company.
Notes
The Notes section allows registering additional information, context, or relevant incident details.
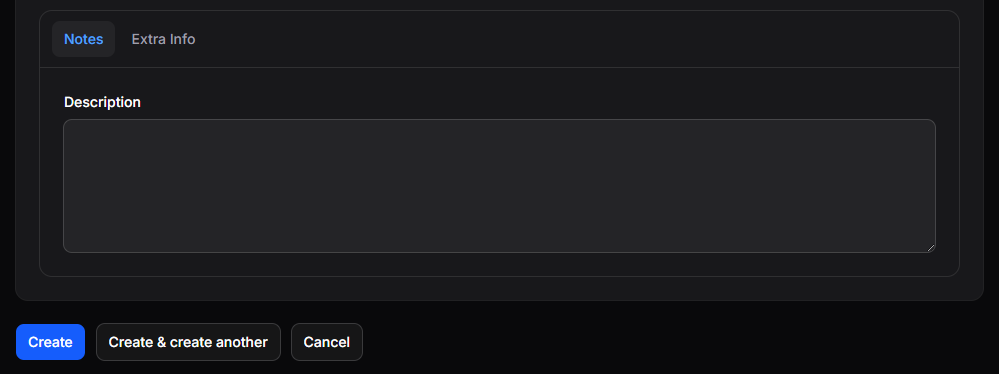
Figure 6. Notes section
Available Fields
- Description: Allows entering the details, observations, or explanation of the Ticket.
Available Actions
Once the Ticket information has been completed, the following actions will be available:
- Create: Saves the Ticket and completes the creation process.
- Create and Create Another: Saves the current Ticket and opens a new form to create another one.
- Cancel: Cancels the operation without saving changes.
Actions on a Ticket
View a Ticket
The View option allows access to the full Ticket details.From this view, it is possible to review the Ticket information, update its status, create related contacts, edit data, and access communication records through the Chatter.

Figure 7. Ticket view actions
Resolve
The Resolve option marks the Ticket as successfully resolved.
Once resolved:
- The Ticket will be available in the Resolved view.
- The Ticket will no longer appear as open.
- The Resolve action will be replaced by Reopen.
Mark as Failed
The Mark as Failed option marks the Ticket as failed when it could not be resolved successfully.
When selected, a confirmation form will be displayed.
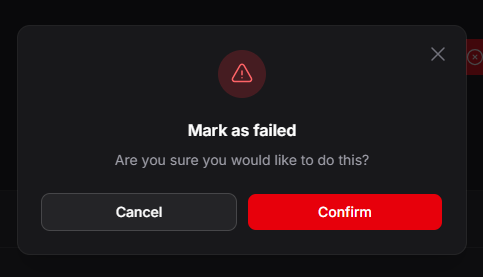
Figure 8. Failed ticket form
Available Actions
- Confirm: Marks the Ticket as failed.
- Cancel: Closes the form without applying changes.
Once confirmed:
- The Ticket will be available in the Failed view.
- The Mark as Failed action will be replaced by Reopen.
Create Contact
The Create Contact option allows creating a new contact linked to the Ticket.
This is useful when the Ticket contains contact information that is not yet registered in the system.
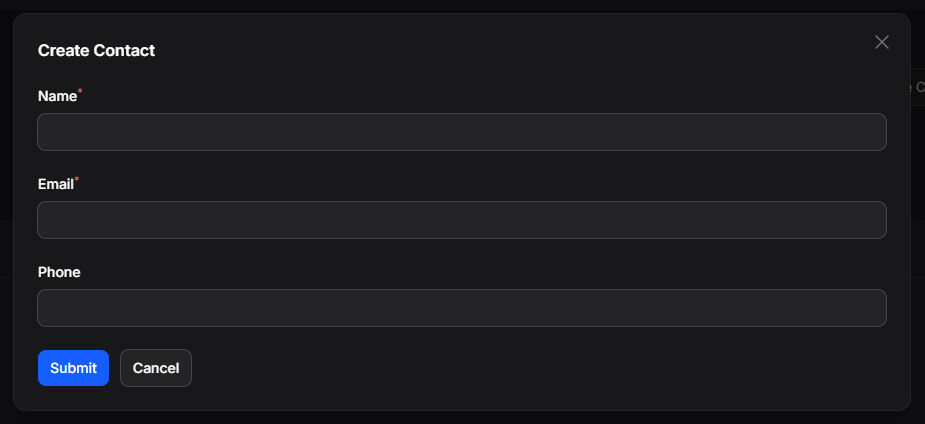
Figure 9. Create contact form
Available Fields
- Name: Allows entering the contact name.
- Email: Allows entering the contact email address.
- Phone: Allows entering the contact phone number.
Available Actions
- Create: Saves the contact and links it to the Ticket.
- Cancel: Closes the form without creating the contact.
Edit
The Edit option allows modifying the Ticket information.
From this view, it is also possible to update the Ticket Stage.
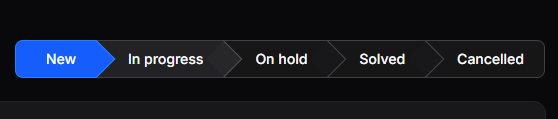
Figure 10. Ticket stage selector
Available stages correspond to the configuration defined in Helpdesk → Configurations → Ticket Stages.
Chatter
The Chatter allows registering communications, internal notes, and activities related to the Ticket.
From the Chatter, users can:
- Send messages related to the Ticket.
- Register internal notes.
- Schedule activities.
- Attach files or supporting documentation.
- Review the communication history of the Ticket.
For more information about Chatter and Activities, check the corresponding sections of the documentation.
Delete a Ticket
The Delete option removes a Ticket from the main list and moves it to the Archived view.Once deleted, the Ticket will remain available in Archived, where additional actions can be performed.
Available Actions in Archived
- Restore: Restores the Ticket and returns it to the main list.
- Delete Permanently: Permanently removes the Ticket from the system.
Tickets deleted using Delete Permanently cannot be recovered later.